Plesk
This page will guide you through the installation of ClientXCMS Next Gen for self-hosted versions on Plesk. Cloud offerings are automatically installed on CLIENTXCMS servers. Cloud installation is available here.
Subscription and Domain Setup
- Create a domain name corresponding to your license.
- If you already have a client area, save the
.envfile in your site root (for migration) and backup all ClientXCMS or WHMCS files.warningDo not delete or modify the old client area database if you want to reimport your customers, invoices, services, product configurations, etc.
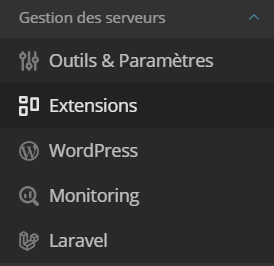
- If you have Plesk Administrator access, in the side menu, click "Extensions" under "Server Management".
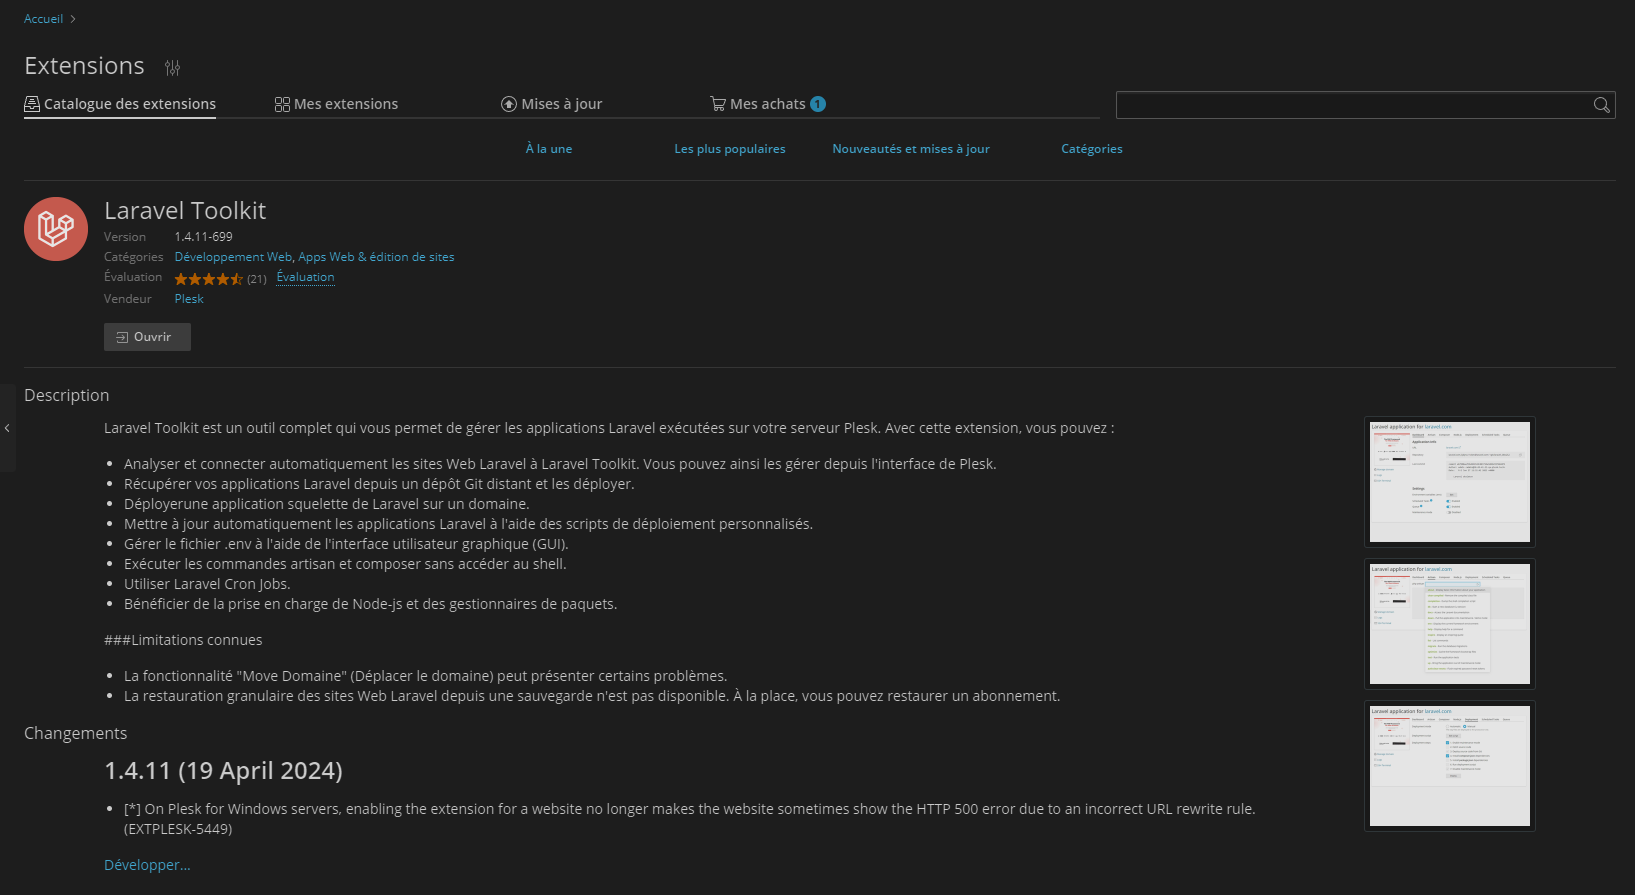
- Search and install the "Laravel Toolkit" extension if not already done.
- Generate a free SSL certificate via Let's Encrypt.
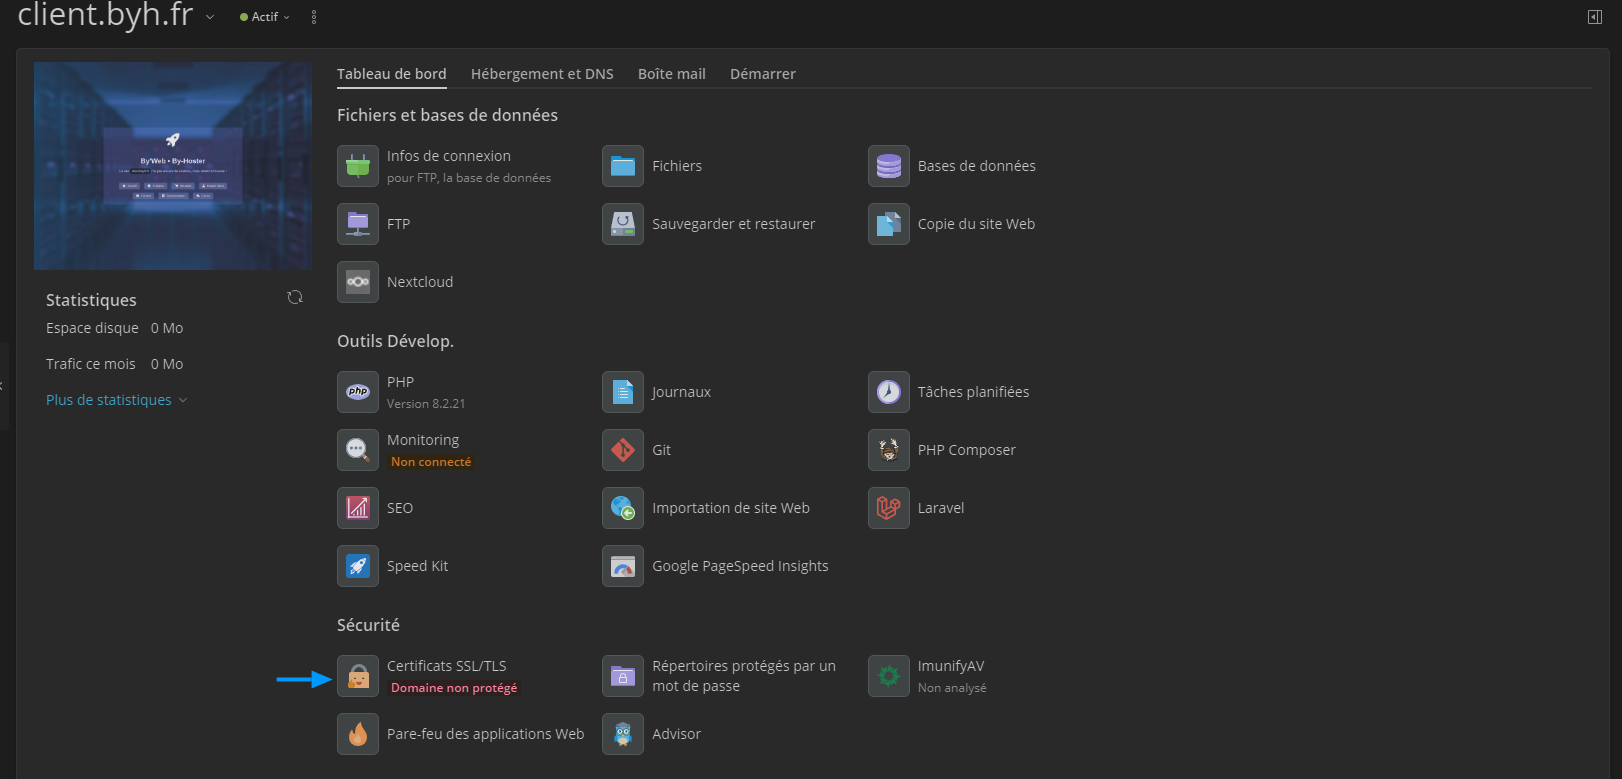
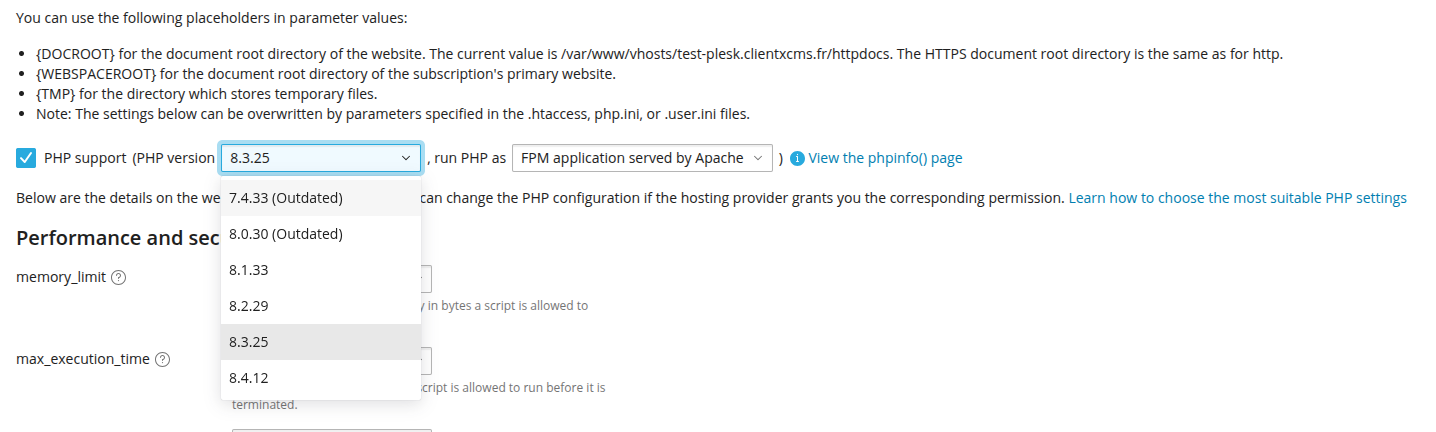
- In your domain dashboard, click "PHP" under development tools. Use PHP version 8.3 for optimal compatibility.
Laravel Environment Installation
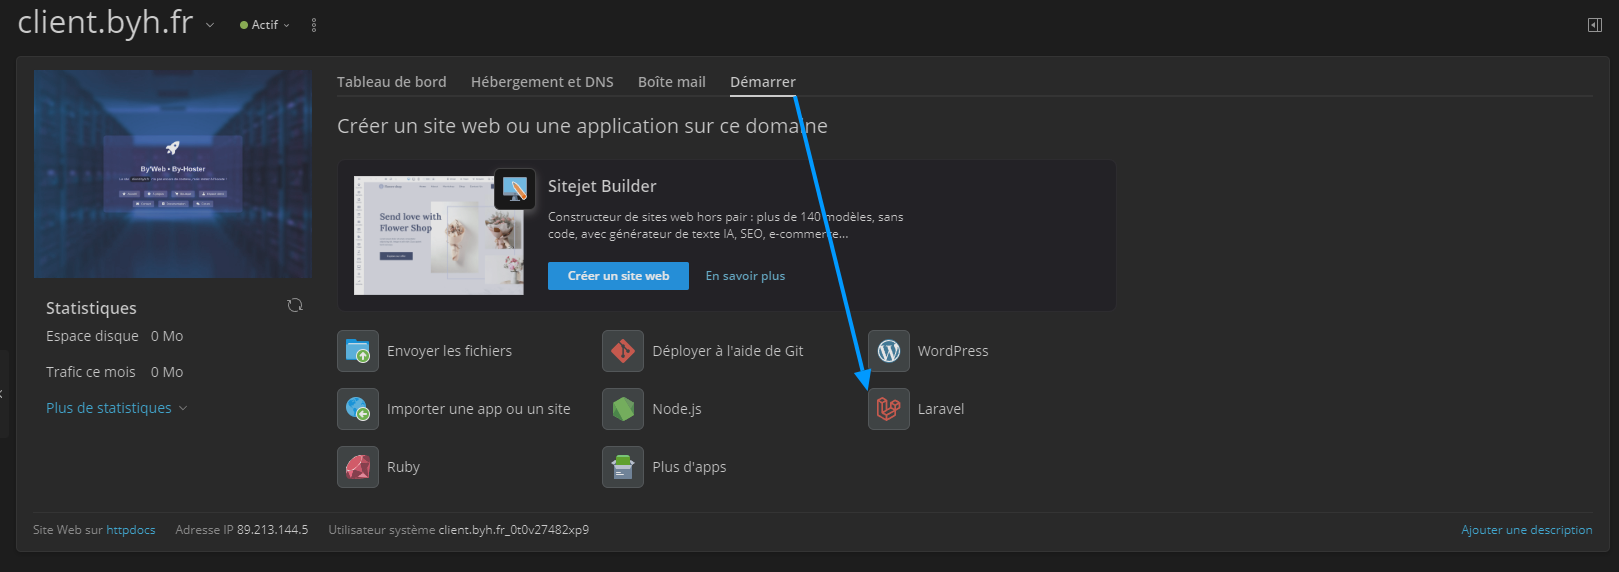
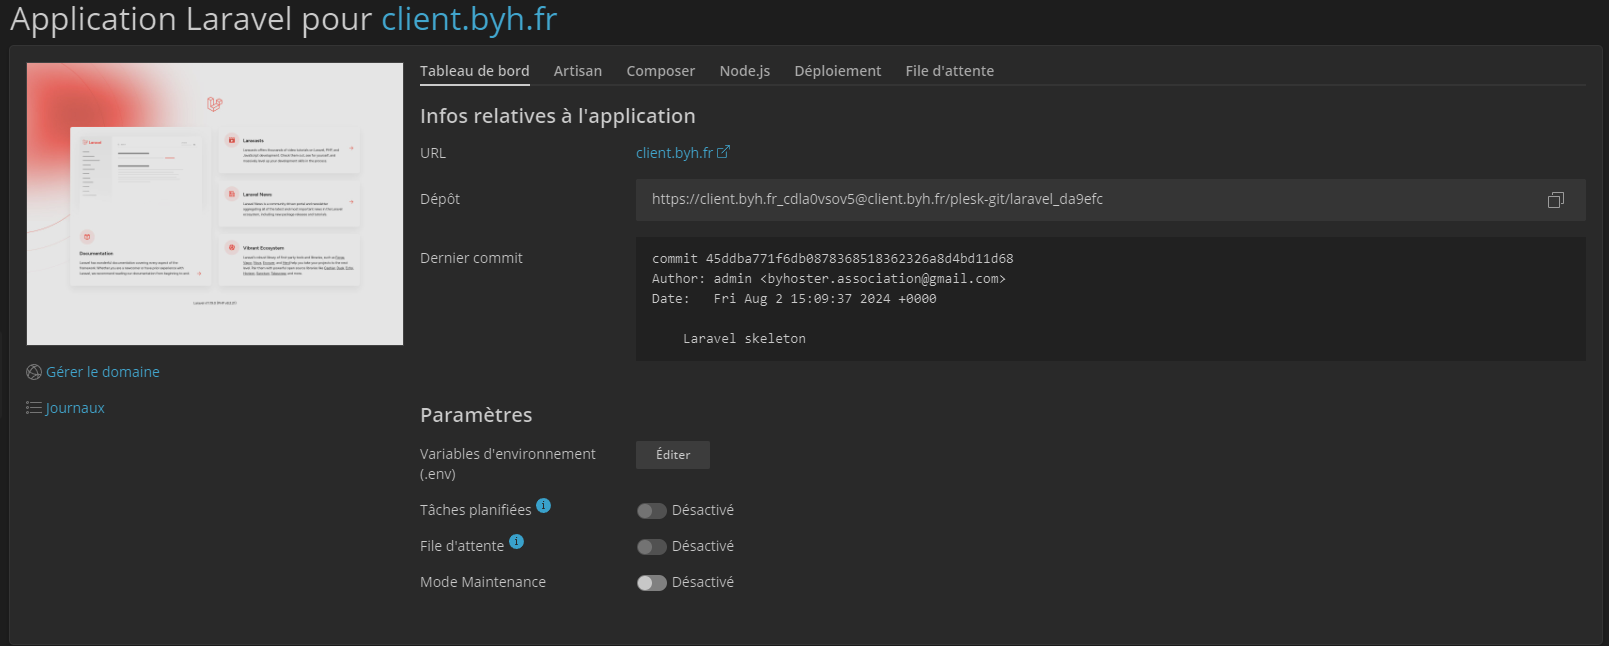
- Return to your domain management. Under the "Get Started" menu, select "Laravel".
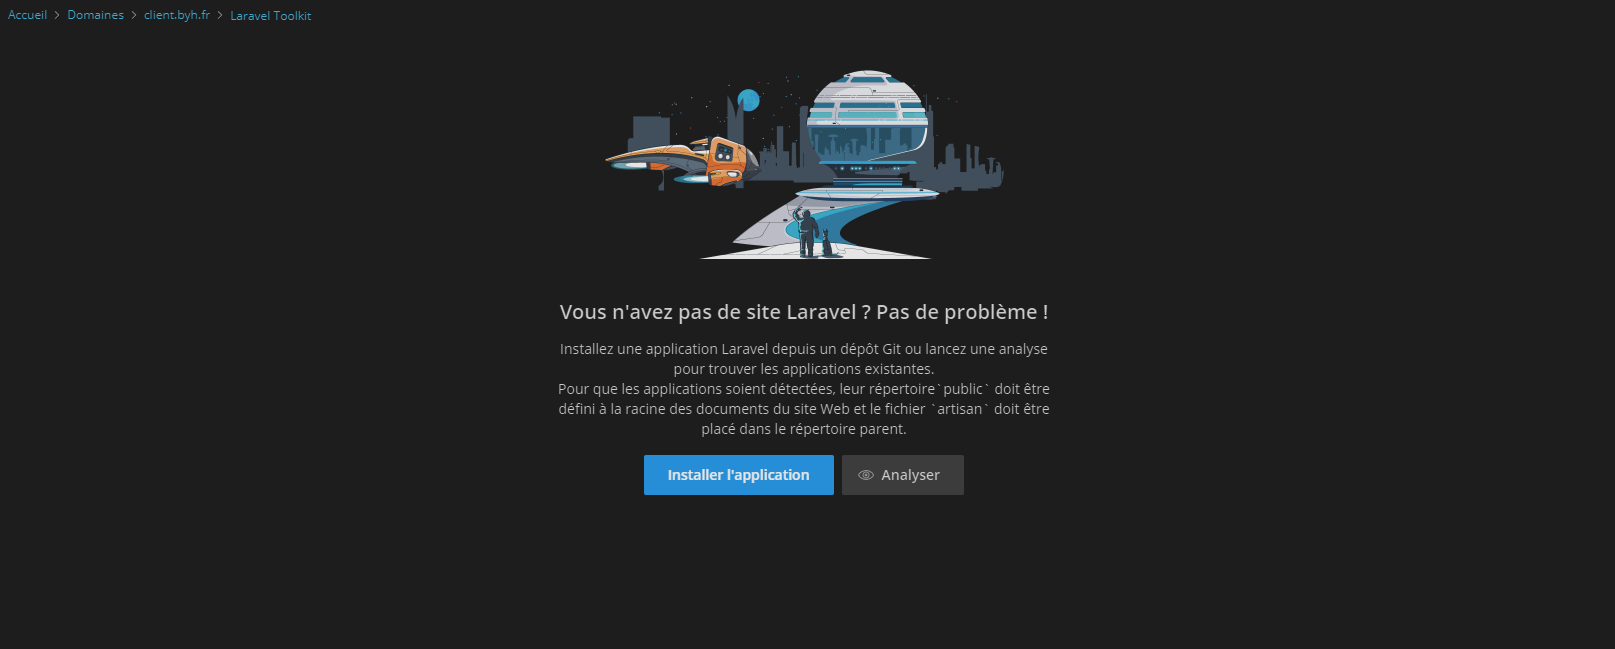
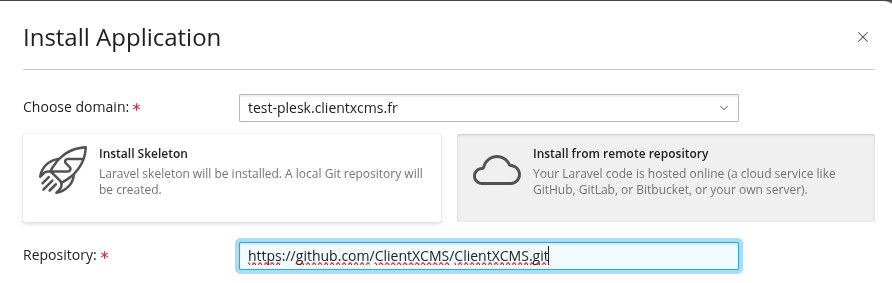
- Click "Install application", choose "Install from remote repository", enter the URL: https://github.com/ClientXCMS/ClientXCMS and confirm.
- Wait for the CLIENTXCMS deployment to complete.
Database Configuration
-
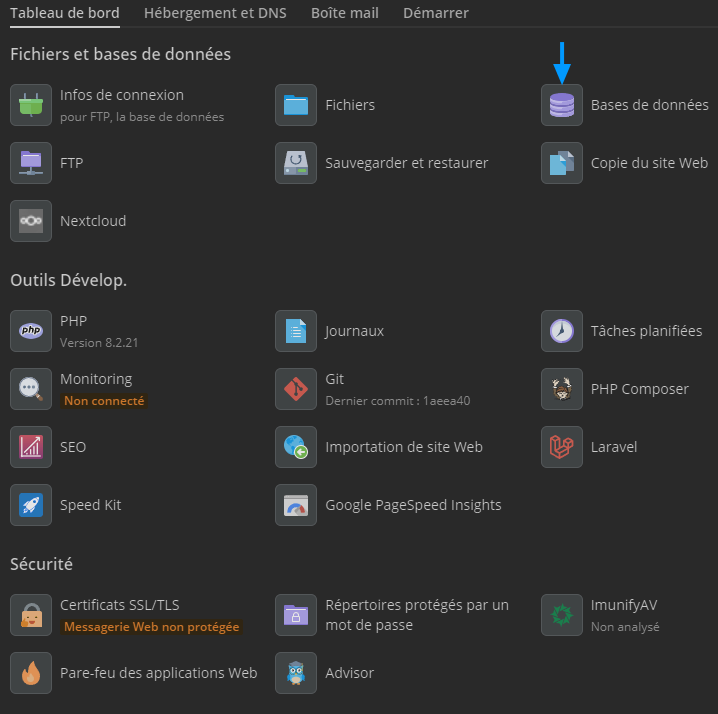
Create a database in the domain management dashboard, under "Files & Databases" -> "Databases".
-
Use a strong password for security reasons and note the connection information before confirming.

-
In the Plesk file manager, go to the Laravel project root (default "httpdocs").
-
Rename the
.env.examplefile to.envor open the file.
-
Click on the
.envfile and modify the values:APP_ENV=production->APP_ENV=production(keep as production for security)APP_URL=http://localhost->APP_URL=https://your.domain.com(enter your client area domain)DB_DATABASE=laravel-> Your database nameDB_USERNAME=root-> Database usernameDB_PASSWORD=""-> Database user password (in "quotes" to avoid syntax errors)
Environment Initialization Commands
- Return to the "Get Started" tab then click "Laravel".
- Click on the "Artisan" section.
- Execute the following commands in this order:
key:generatemigrate --forcedb:seed --forcestorage:link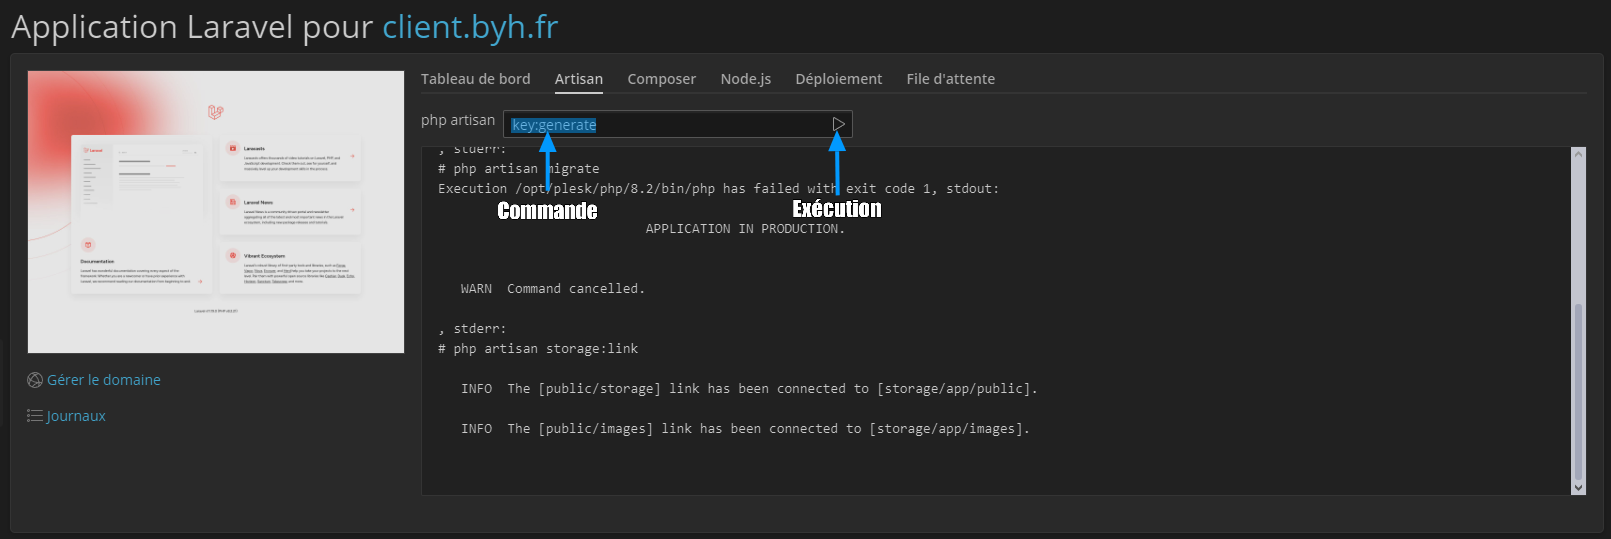
- Click on the "Node.js" section.
- Select the most recent Node.js version installed on your Plesk server (e.g., Node.js 21).
- Execute the following commands in this order:
installrun build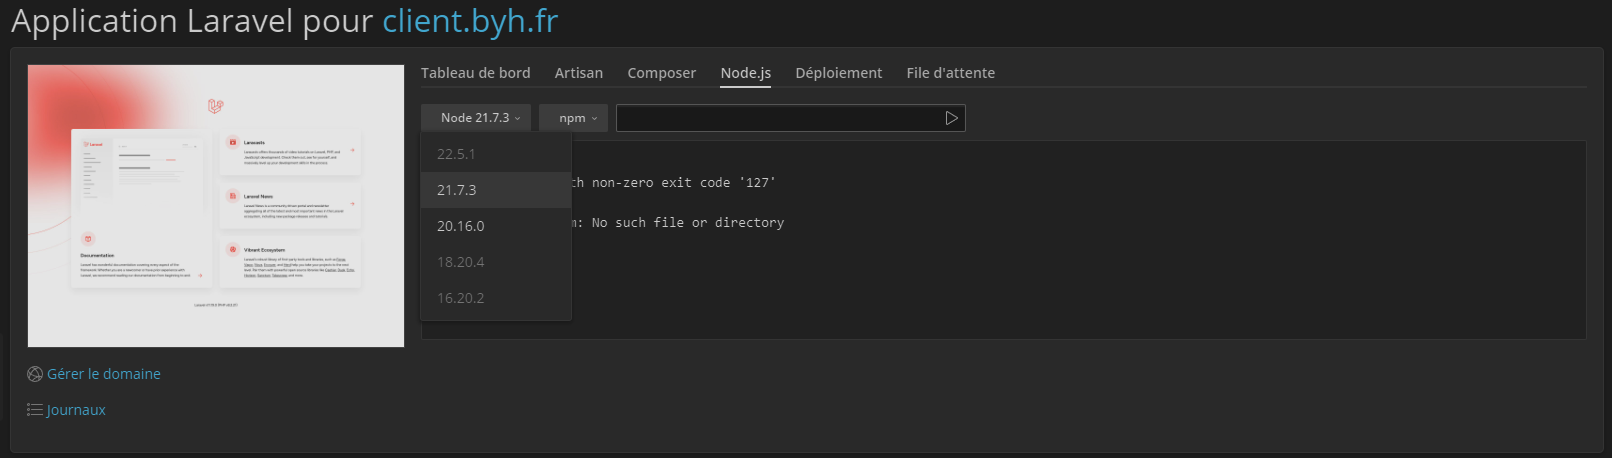
ClientXCMS Configuration
-
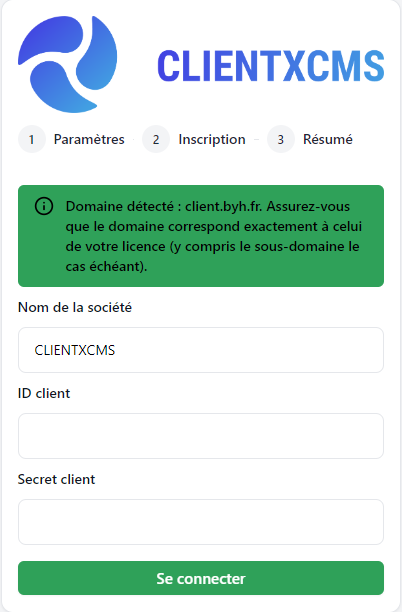
Go to your client area address. You should see an installation page similar to this one:
-
Replace "CLIENTXCMS" with your hosting company name.
-
To find the Client ID and Client Secret, go to the ClientXCMS client area: https://clientxcms.com/client/services/, in the relevant NextGen license management.
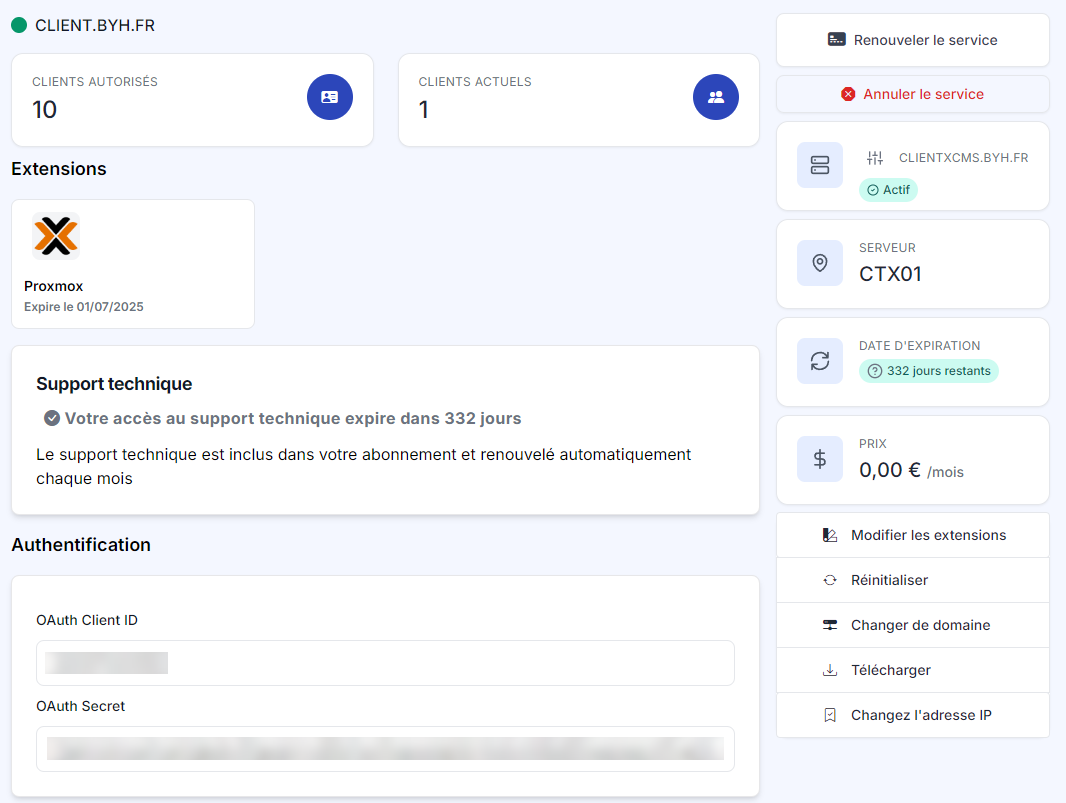 The "OAuth Client ID" and "OAuth Secret" identifiers are needed to connect the ClientXCMS license to your site. Then click the "Connect" button on your instance.
Cron Tasks Configuration
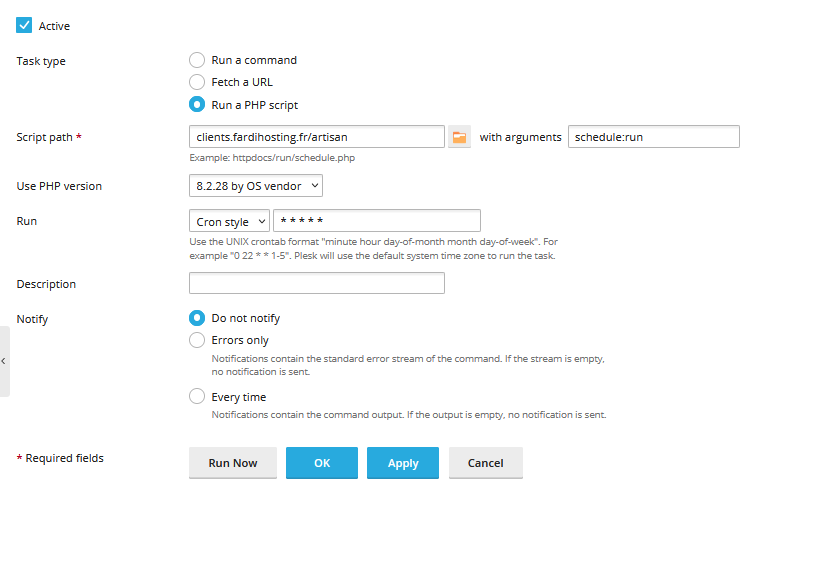
- In the domain management dashboard, click "Scheduled Tasks" under "Tools & Settings".
- Click "Add a scheduled task".
- Configure the following cron task to run every minute:
Replace* * * * * php /path/to/your/site/artisan schedule:run >> /dev/null 2>&1
/path/to/your/site/with your actual Laravel project path (e.g.,/var/www/vhosts/yourdomain.com/httpdocs/).