Extensions
Extensions in the ClientXCMS CMS are of two types: addons and modules, and they are located in the respective /modules and /addons folders. Each extension is based on the Laravel framework and follows a well-defined structure.
In this guide, we will see how to create an extension, how to structure it, and how to register it in the CMS.
Prerequisites
We recommend having good knowledge of PHP and Laravel, as well as being comfortable with the following concepts:
- Controllers
- Views
- Eloquent Models
- Service Providers
- And any other Laravel concept
These topics will not necessarily be covered in detail in this documentation.
You must also have access to the source code for self-hosting.
Additionally, it is recommended to be comfortable with TailwindCSS, Blade, and Vite.js.
Development License
We can provide you with a development license with the same extensions as your main license and 15 authorized clients for your development. For more information, please contact us.
Activation
Loaded extensions can be activated or deactivated on the Extensions page
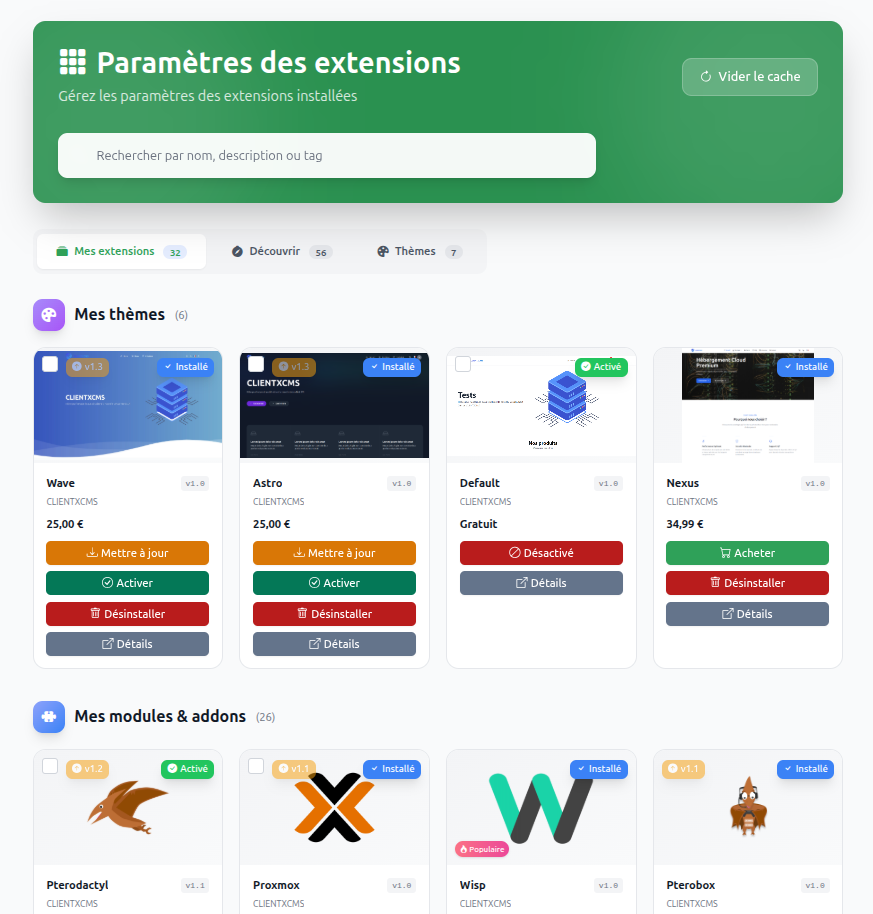
Choosing between a module and an addon
Simply put, modules are used for service delivery, for example to implement a management panel like Virtualizor, Plesk, or Pterodactyl. Addons are used to add additional features such as payment methods, logic, or custom pages.
Request to add to the marketplace
You can request to become a developer at https://clientxcms.com/client/resources and thus offer your extensions to the community.
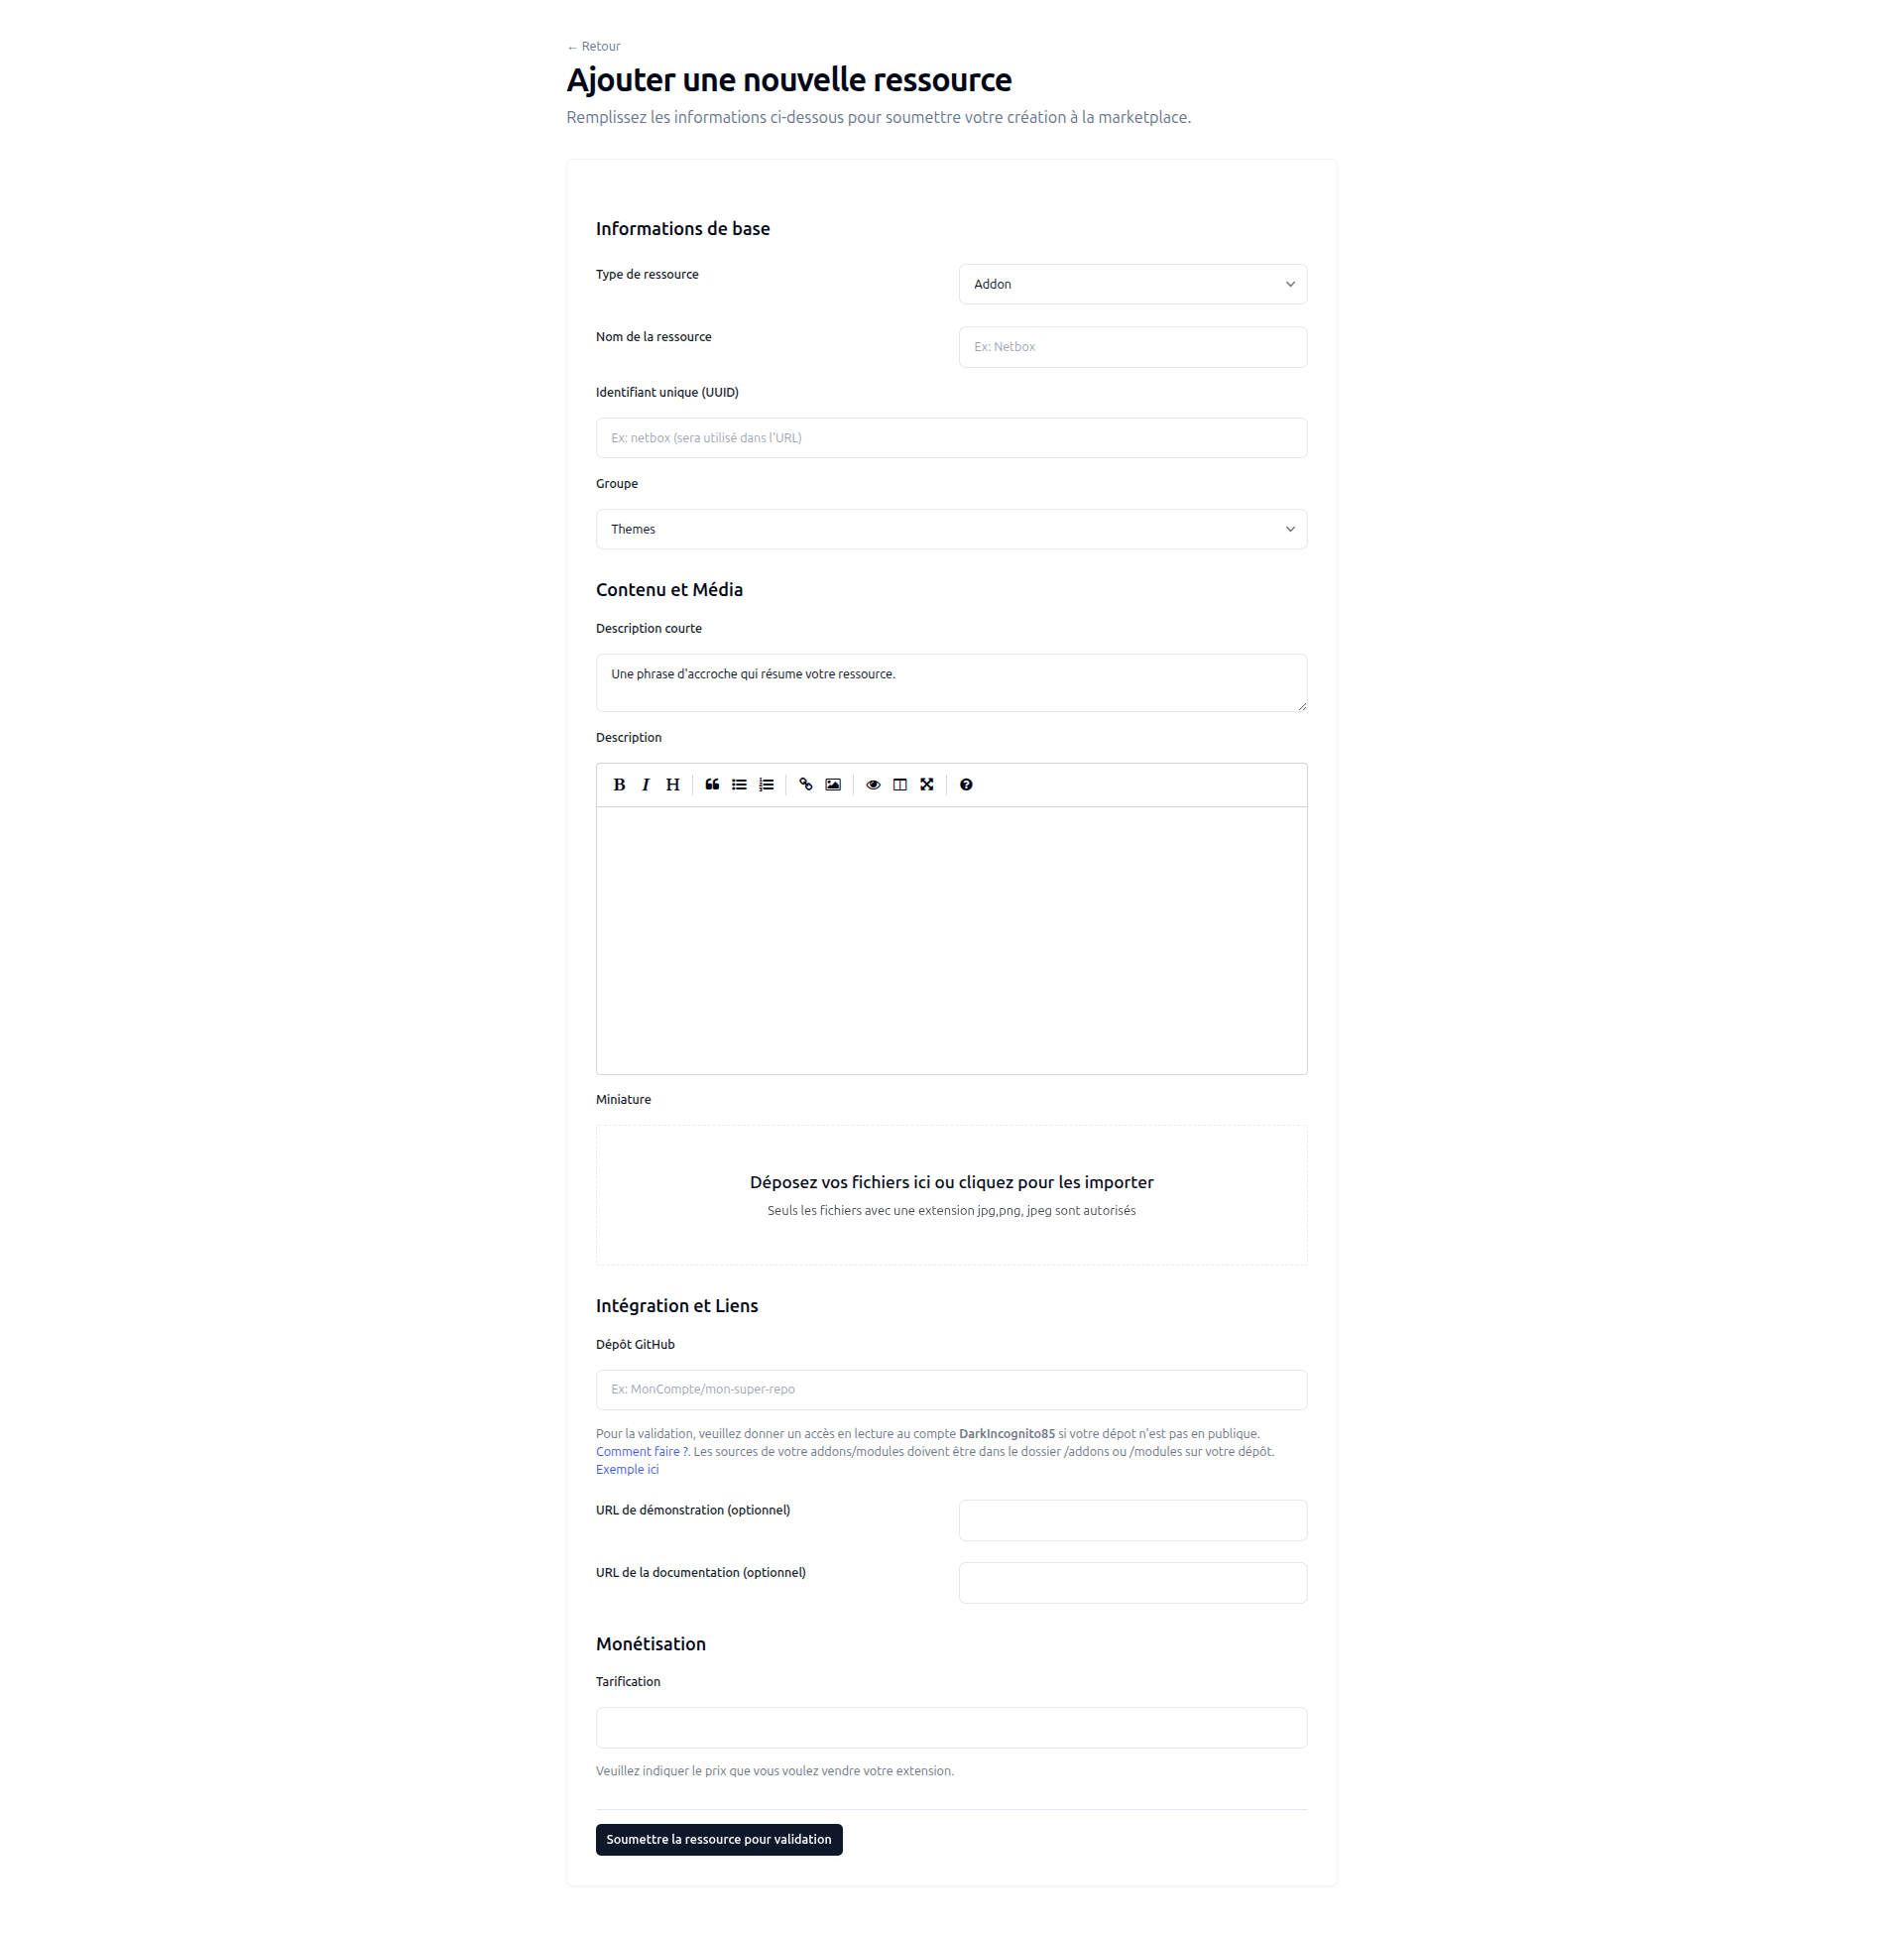
From now on, each developer can:
- Create their own extensions
- Publish and share their creations via clientxcms.com/client/ressources
- Easily explore and install extensions shared by the community
This intuitive interface was designed to simplify management and encourage the collaborative ecosystem around CLIENTXCMS.